Step 1.) Open your photo in photoshop.
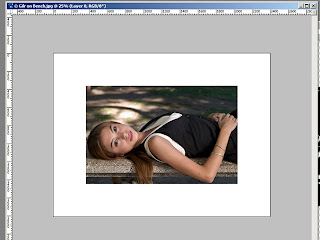
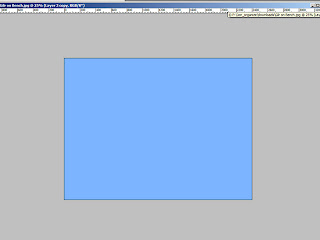
Open a second layer above the photo and fill it in with a light blue (I used #8eb3ff). This will be your basis for the frame. Now you need your snowflake brush.
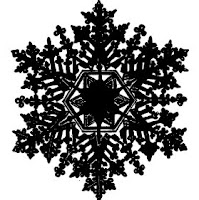
Step 2.) Get a snowflake brush or an image of a snowflake to use as your brush. I have provided the one I used for anyone who wants to use it. Simply click the snowflake below and save the image to your computer. Open the image in photoshop then go to Edit>Define Brush Preset. This will create a snowflake brush that you can use to paint your snowflakes in.
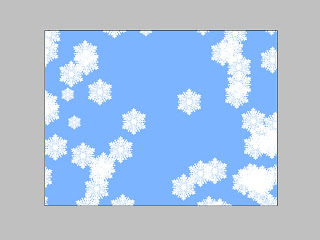
Step 3.) Back in the file with your photo and the blue top layer, open a new layer above the blue layer and get your brush tool. Set your brush to your new snowflake brush and open your brush palette. Here are the settings I used:
- Shape Dynamics:
- Angle jitter 17%
- Roundness jitter 9%
- Minimun roundness 25%
- Scattering:
- Scatter: (check) both axes, 852%
- Count jitter 98%
- smoothing
- protect texture
Then, using white, paint a few strokes in the layer above the blue. The flakes will drop in scattered all over the page.
Step 4.) Now go select the blue layer and click the "add vector mask" button at the bottom of the layers palette (it looks like a small white circle in the middle of a gray square). Now, in the layers palette, select the layer mask, not the image layer, and get your snowflake brush out. Turn off all the scattering and shape Dynamics and enlarge the brush as big as you want your photo window to be and select your color to black. Next, in the layer mask, paint on flake where you need your window to be (this will make it so you can see the photo under the blue layer). Then, take a regular black brush and fill in, in the layer mask window, any of the spaces left by the snowflake.
Lastly, select the layer mask, press and hold the alt key (option Mac) and drag the layer mask into the layer above with all the painted flakes. This will duplicate the layer mask in the flake layer.
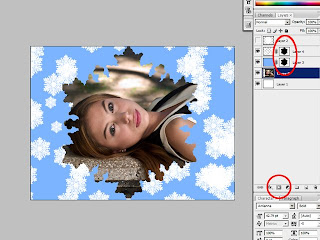
Step 5.) Add a drop shadow layer style to both the flake layer and the blue layer.
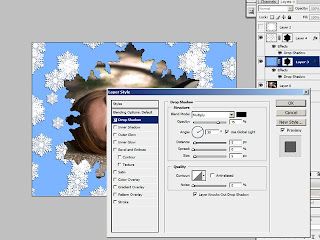
Now adjust your photo layer so the image fits in the screen the way you want it to and your done. Now you have a nice christmas photo frame that you can use over and over again.
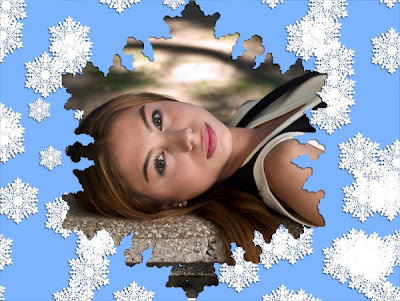
Merry Christmas!


Now that is really cool. And can take that one in so many different directions. Can't wait to try it. Thanks BEC
ReplyDelete