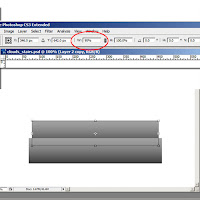
Step 1.) Create a rectangle with a gray background and a black gradient. Duplicate the layer and free transform the new layer. Since it had to be uniform I went to the top bar of the page and reduced the width to 95%. Repeat this step until you have the height you want. I later added some extra gradients to the steps to get more depth
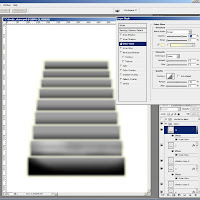
Step 2.) Apply an outer glow to each step. Also, add a gaussian blur of about 4.2 to each step (filter>blur>gaussian blur).
Step 3.) Bring in an image of clouds and warp and transform to fit what you need.
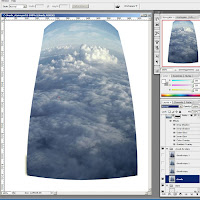
Step 4.) Set your layer with the clouds to overlay. (I actually duplicated that layer 3 more times and set their blend modes to overlay, overlay, soft light, and soft light. It may seem redundant but if I take one out the image of the clouds doesn't seem to look as good).
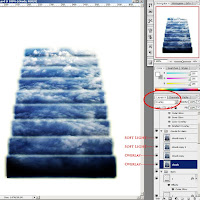
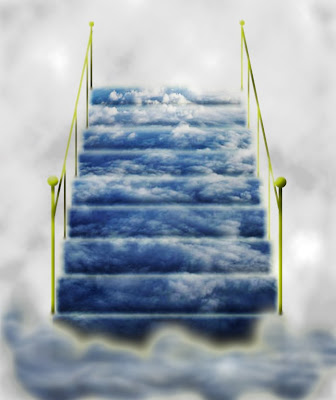
Step 5.) I used the same image of clouds for the stairs as I did for the cloud puff at the bottom of the stairs. I just transformed it to fit across the bottom of the page and put a layer mask (black) over the image. I then used a soft edge brush set to white on the layer mask section of the layer and painted what I wanted back in as the cloud. I then added a drop shadow, inner shadow, outer glow, inner glow, gradient overlay, and a color overlay (using a blue from the stairs). I then reduced the fill of the layer to 98%.
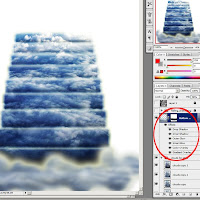
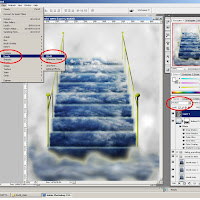
Step 6.) Finally, I created a new layer above all the other layers and with your colors set to white and gray, go to filter>render>clouds. Then set your layer to multiply and reduce the layer fill to about 24%. I also did some Dodging and burning (highlights, midtones, and shadows) to this layer to get some extra depth.


That's beautiful!
ReplyDelete